
 Xiamen · OEM / ODM
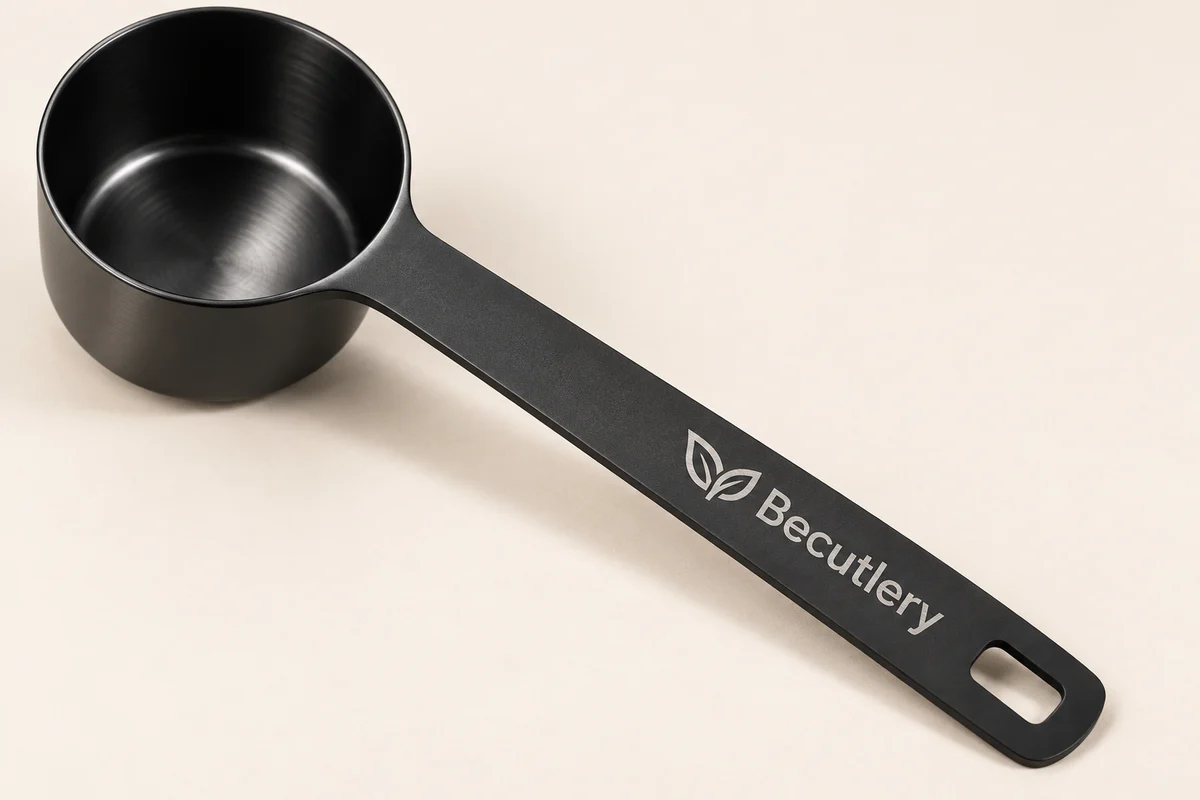
Start with the available area
Provide vector artwork and identify the preferred location. Narrow handles and curved bowls reduce usable marking space.
Identify the exact model and variant before placing the artwork. A 10 mL, 20 mL or 60 mL capacity does not tell you the available handle width. Use the matching drawing or sample and show the intended reading direction from the bowl toward the handle, or the reverse. Keep the original artwork file separate from the product proof.
Review contrast and durability
Laser marking, printing and engraving create different visual and tactile outcomes. Confirm the method after material and finish are fixed.
Specify whether you want a surface mark or a deeper engraved texture. Share the intended visual and tactile result, then compare logo contrast and depth on a sample of your chosen product and finish.
- Vector logo file
- Minimum logo size
- Preferred position
- Required color or contrast
- Care and washing environment
Keep capacity marks separate
Treat regulatory, capacity and brand markings as a complete artwork map so they do not compete for the same space.
Separate the proof from the marked sample
Use the table as an approval sequence: prepare the artwork, review its product layout, assess the marked physical sample and retain the final production reference. Each step adds the information needed for the next decision.
| Review | Record here | Review at the next stage |
|---|---|---|
| Original artwork | File name, version, fonts or outlined paths, and ownership / permission to use | Fit on the selected handle |
| Product proof | Model, logo dimensions, location, reading direction and other marks | Actual contrast, depth or performance on the surface |
| Marked physical sample | The chosen material and finish, appearance, legibility and agreed checks | Appearance for each color, coating and material |
| Production reference | Approved sample identification, final proof version and packing instructions | Artwork and product revisions |
Make the sign-off specific enough to repeat
If several capacities or finishes share a logo, identify each combination on the proof and sample record. Do not label every file “final”: use an agreed version and date, and state which earlier file it replaces. A reordered logo on a different handle or finish needs its own review of fit and appearance.
Keep any capacity or weight statement separate from decorative branding. Confirm the meaning, units and supporting evidence before putting it into artwork. Packaging text, logo direction and the product proof should refer to the same approved version.
- Product / model / variant: ___; material and finish: ___; sample reference: ___.
- Original artwork file and version: ___; proof file and version: ___.
- Logo width and height: ___ mm; position / reference edge: ___; reading direction: ___.
- Other marks and units: ___; appearance and cleaning checks agreed for the sample: ___.
- Approval date and reference: ___; outstanding revisions: ___; superseded files: ___.